Showing posts with label DIY. Show all posts

Sunday, December 19, 2010

Vintage Pony Facelift


I found this little rocking horse at the Rabbit Hole here in Portland. They have some great vintage furniture and great prices! I thought the paint was a bit ugly on this guy but I liked him just the same. My daughter loves anything she can climb or ride on...so I thought for $35 why not just give him a makeover!

before

after

Tuesday, October 12, 2010

Toddler Table Redo


So, I was under the weather this past week and pretty much stuck in the house for awhile. I was going stir crazy and itching for a project. I found this one (among a few others that I will post later:). How could I have not thought of it before? My baby's toddler table totally needed a stylish makeover!
All I needed was some pretty spray paint, modge podge and some hip scrapbook paper...(and a small amount of patience)
..a few hours later and tah dah! a new table! I love it!


Tuesday, July 27, 2010

Summer Projects!


Here are some of the things I've been doing lately when I take breaks from jewelry making.. First, check out my new jewelry case I got from Presents of Mind (also the newest store to pick up harlow:) I just LOVE it! I'm making jewelry trays and jewelry display boards to fit perfectly in the bag to take to stores and shows. It even has a handle that expands and wheels so you aren't lugging it everywhere. Plus, it's harlow orange so how could I possibly resist?!


I've been turning these great multi-functional (great for so many things!) cork placemats into jewelry display boards by covering them with fabric and putting in a thin layer of cushion so that I can hold the jewelry down with pins...
...and turning this
into this! These trays have inserts with compartments that I can tote jewelry in. They don't have lids or anything so I needed to make some kind of strap to hold everything in.
I used velcro on the ribbon so that it can be secured tightly :)

Wednesday, July 21, 2010

Adorable DIY Totes!


So, I just recently discovered that I heart fabric paint...well, not in general I guess, but in this situation, I do. I happen to use tote bags - a lot! Especially with the baby and all the gear that you have to take around with you , it's a nice quick way to grab things and go. Plus, you don't have to match your outfit or anything..anyway, I wanted to make some gifts and what a perfect thing to try from my list of projects- DIY totes! I went to Michael's hoping to find some really cool stencils, and guess what??! Michael's does not have cool stencils - but the do have blank ones. I knew I wanted a lotus flower and a bike, so I googled images of both and picked my favorites. Then I just traced them, cut with my craft knife and voila! a cool stencil! I'm sure you know how to use a stencil, so the rest is history. I also found some letters at the store and monogramed each one with a first initial. Easy peasy totes!


click to enlarge

Wednesday, June 30, 2010

Studio Re-do


Instead of relaxing last night as planned, I decided to re-do my studio instead. It's a project that's been on my list, so here is my progress so far.  Here is before:

another before...(I forgot to take photos until I'd moved the furniture in the middle of the room already)

and after
I painted and rearranged this and the rest of the basement. Whew, a lot of work! Now we are working on making this amazing DIY bed by this weekend. I can't wait! To be continued!!

Thursday, June 17, 2010

Fabric Art

So, we have this empty wall in our house above a new Ikea shelf we got to help store Olive's toys.  It needed something big and colorful.  I love Amy Butler Fabric, and thought it would be a great way to display it by using it as the color in the room!


Here is the empty wall before...
I got a piece of wood at Home Depot the size I was looking for. (I don't know how big it is, I just eyeballed it:)
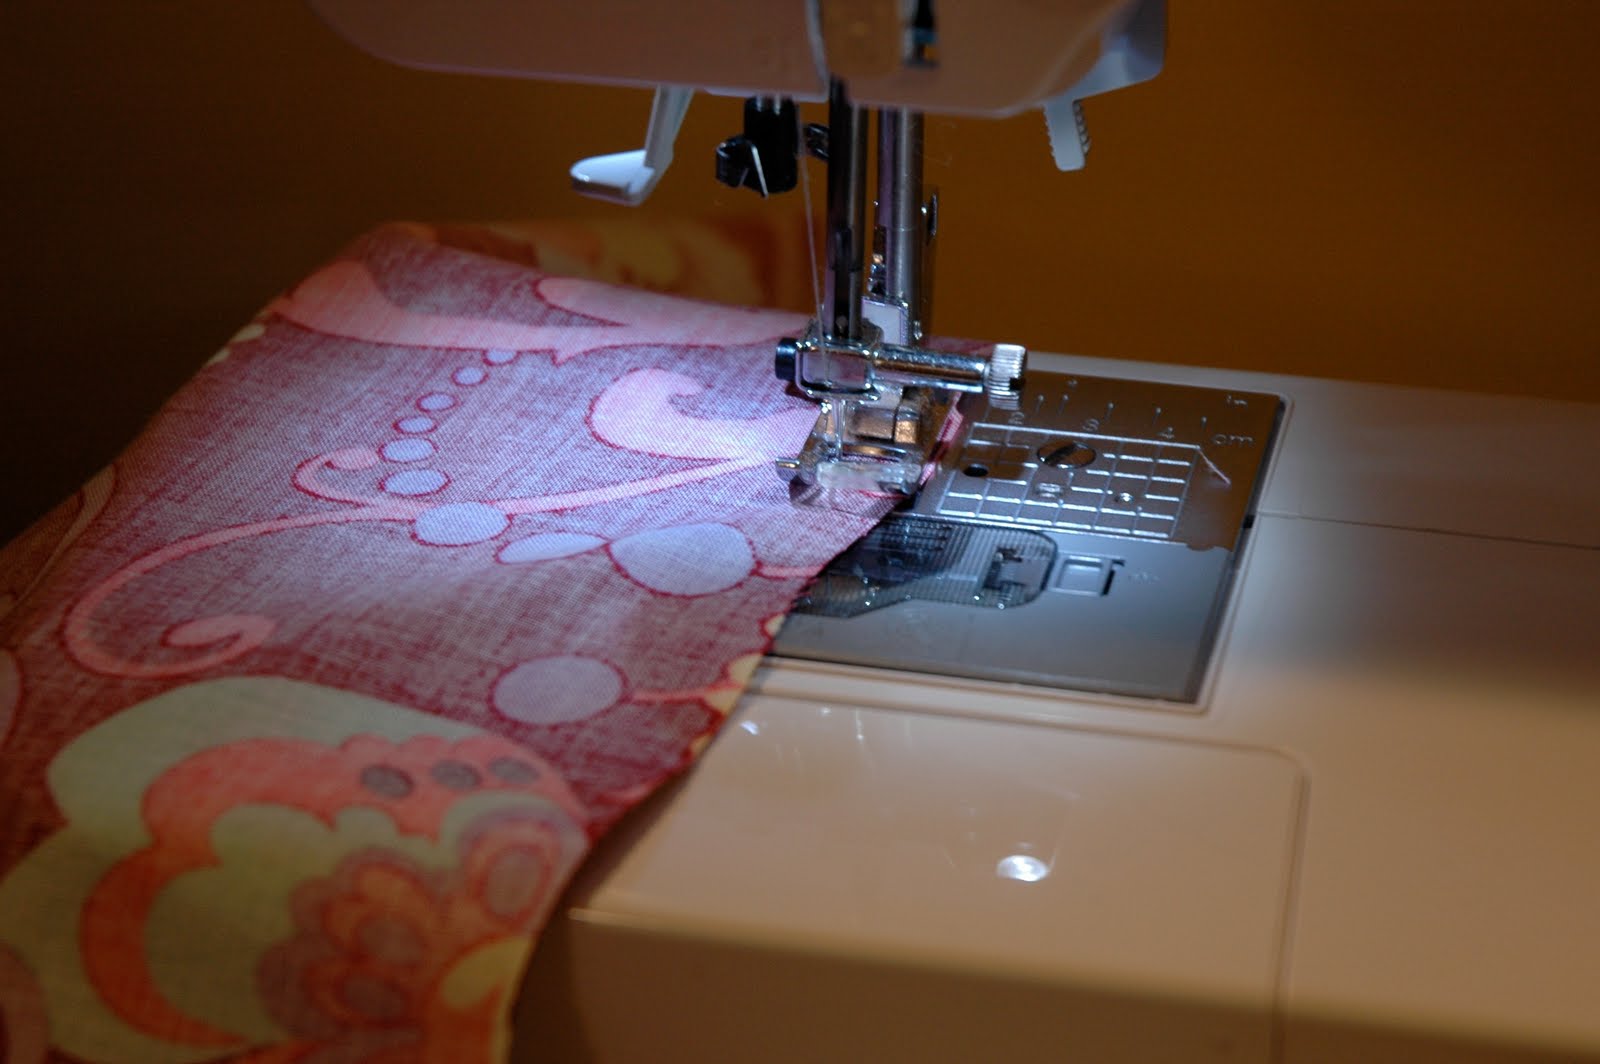
To keep the pattern going upright, I had to cut the fabric in half and sew two pieces together.
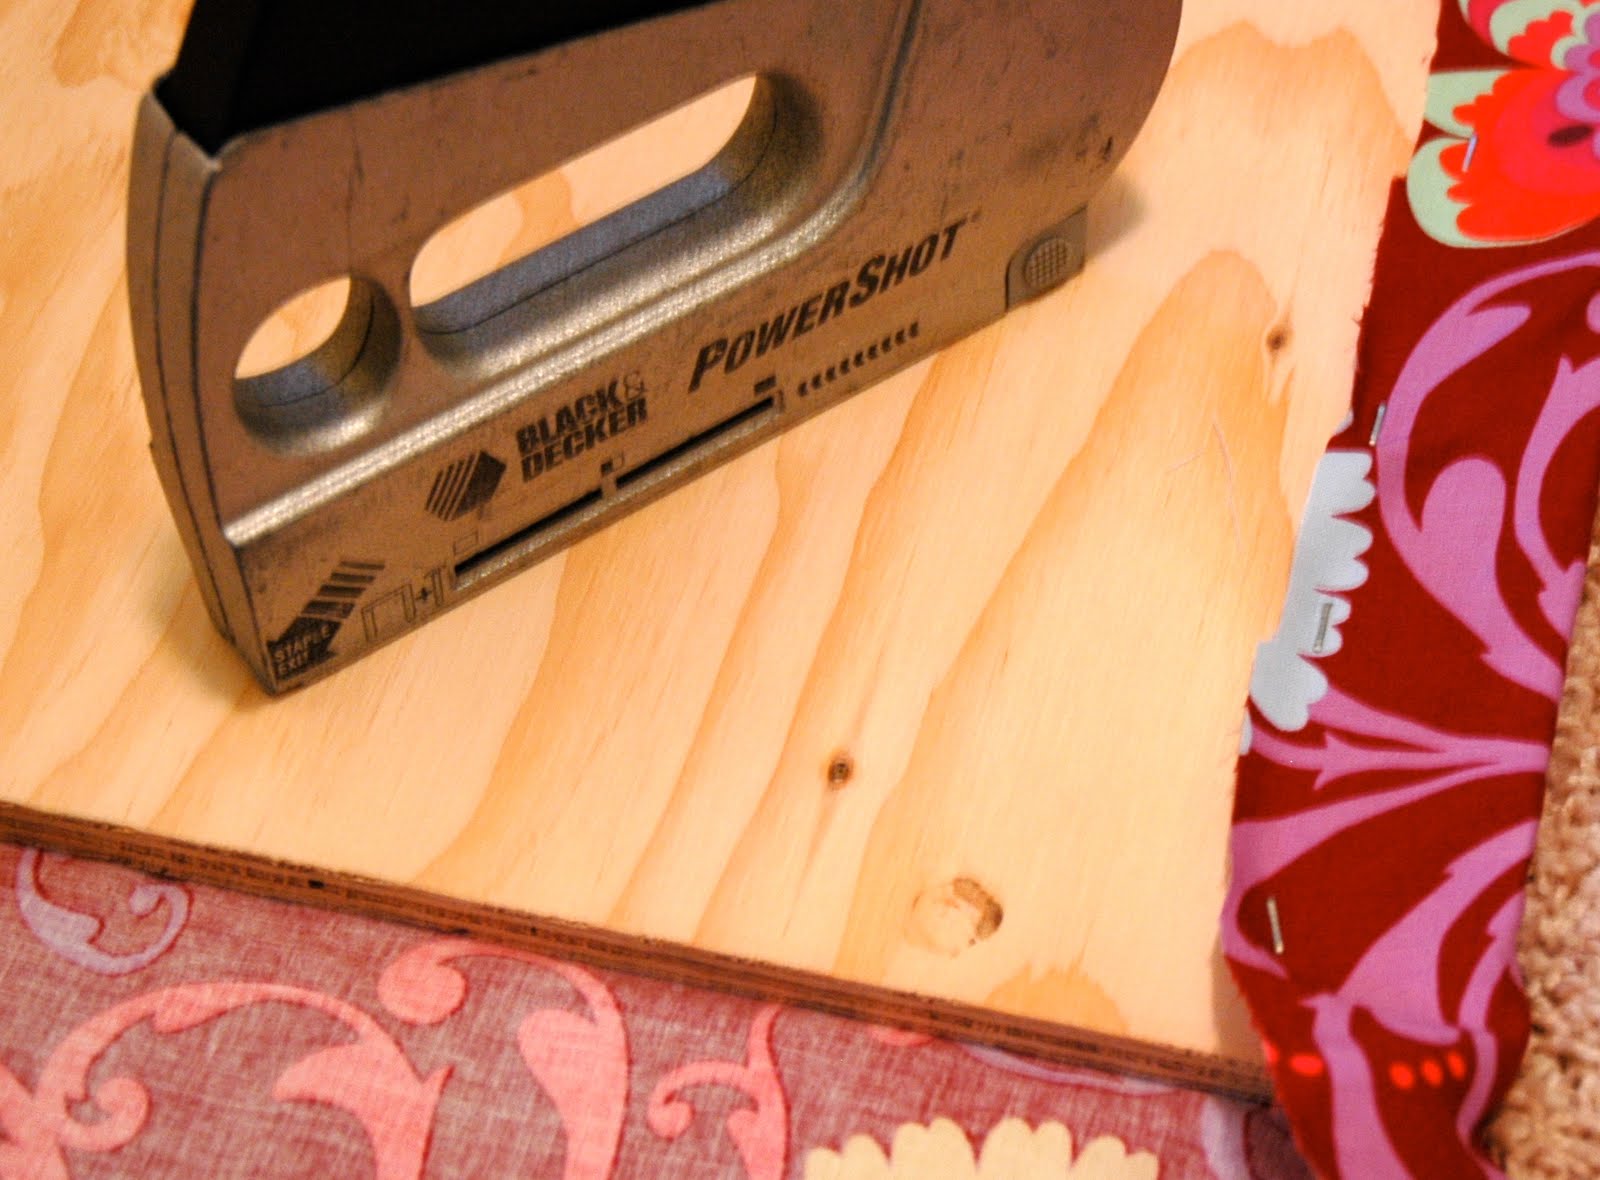
Then just an easy attachment with the, oh so useful, staple gun....
And here it is! I love it! It totally works for the space and was pretty thrifty.   $10 for the wood and $16 for the fabric.
I liked it so much that I used leftover fabric and an OLD BOX! to make a smaller one for the basement stairway in the sunroom.
Here's the box/fabric picture.  I think I will do another one below it in a different Amy Butler fabric that I ordered...

Friday, June 11, 2010

Yummy Summer Vegetable Sandwich


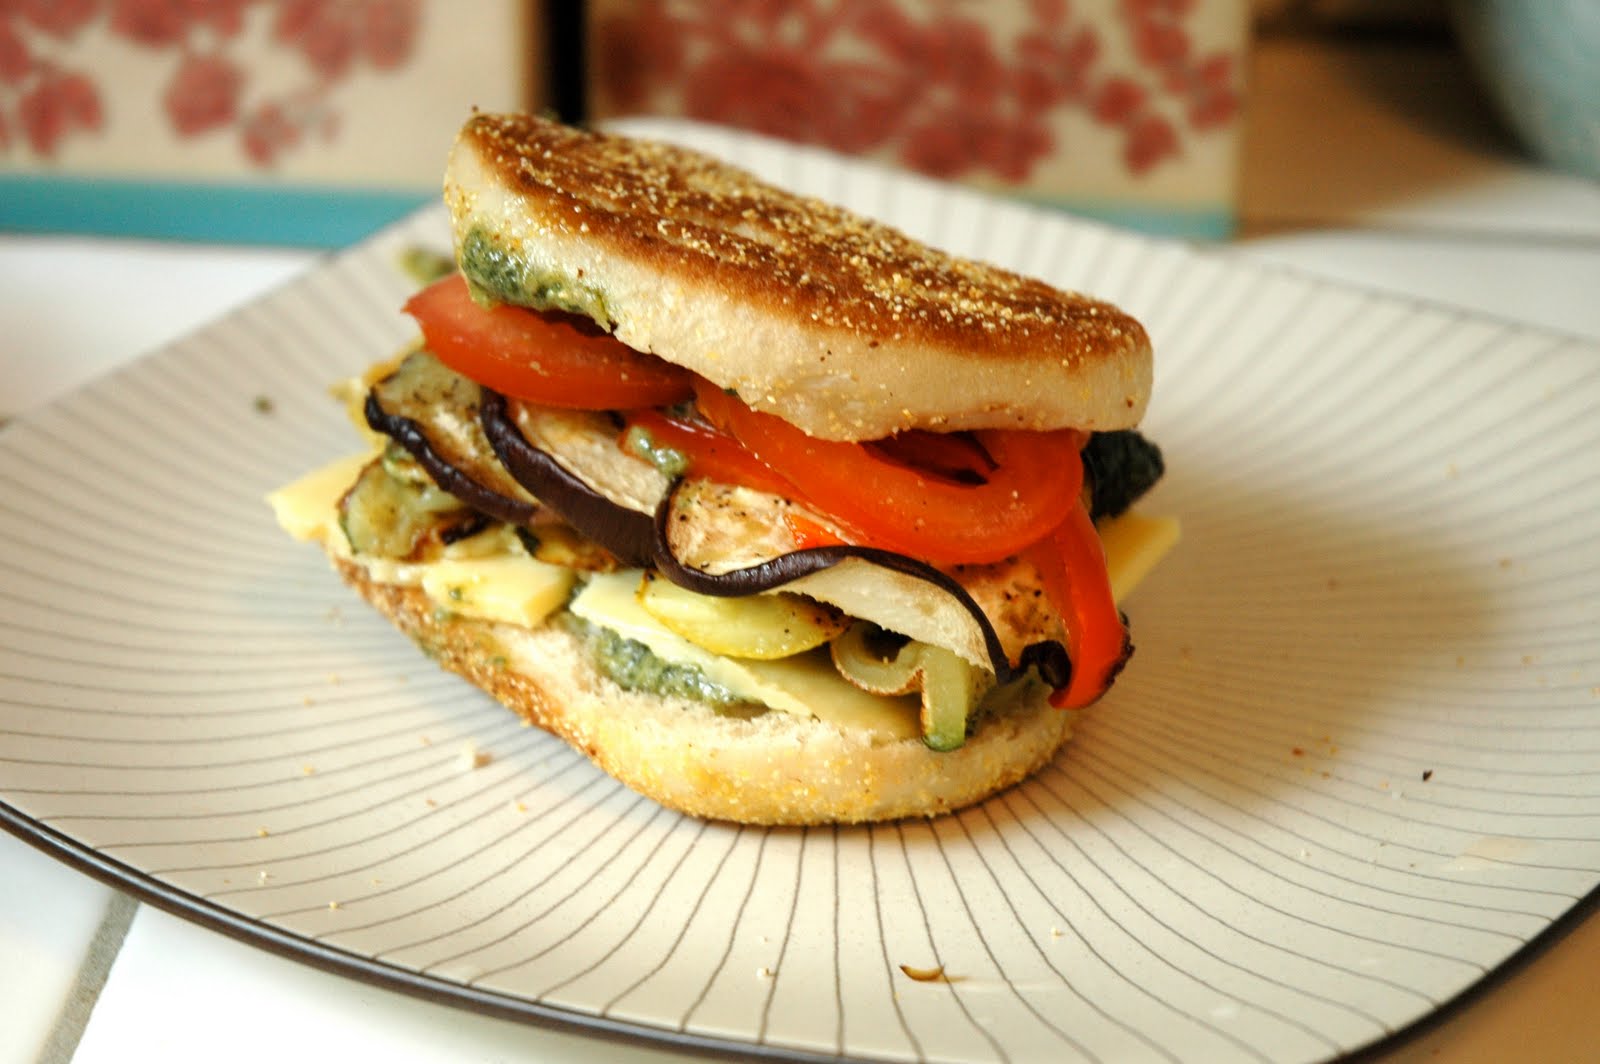
I usually make this one on the grill, but since it's a bit wet out, I'm broiling in the oven instead.  It's simple, healthy and delish! Just slice vegetables of your choice (I used eggplant, zucchini, yellow squash and red peppers) thinly in a single layer on a baking sheet.  Drizzle with olive oil, salt, and pepper.  Then pop in the oven for 10 mins on 500ish degrees. 
Then layer bread (I used large sourdough english muffins) with pesto and mozzarella.
Finally, layer with the roasted vegetables.
...and voila! Simple and yummy lunch or dinner!

Tuesday, June 1, 2010

Adorable Calendar Download from Lisa Rupp!


Check out this sweet little calendar by Lisa Rupp.  You can download it here, and monthly for FREE on her website. I love all of her designs! Like these...


Monday, May 24, 2010

Adorable Tank Top DIY!

My friend JJ from Lovely Little Things 
posted this on her blog today about a plain tank top she added a ruffle to. How easy, adorable, and such a fabulous idea! 
I love how the back looks too!
Thanks for the idea JJ!

Thursday, May 13, 2010

I heart my sewing machine

I saw an orange pillow at Target last year and, since then, I have wished that I would have gotten it.  So I decided to make one myself. I wanted one to match a duvet cover for my bed that I LOVE and a pillow that could be used even when we don't make the whole bed - with shams and all. The stuffing needs a little rearranging, but I love the color and fabric! (it's a velvety soft fabric)

I didn't have any orange thread, so I decided to do a stitch around the outside so I wouldn't have an odd color to sew the part where the stuffing goes in.  My awesome new sewing machine (thanks Mom!) does a number of decorative stitches that were surprisingly easy to use. I chose a leafy vine stitch for this one...
ta-dah! 

Monday, May 10, 2010

Converted Garage


I came across this garage conversion reading Stephmodo's blog last week.  My boyfriend and I loved it so much that it's inspired us to want to convert our garage.  We are thinking of making the main level into a work studio for me, and the upper loft into a guest bedroom.  This is, of course, a future project (as in years away) but I'm already excited! You can view more pictures here.

Monday, April 26, 2010

New Project! - Bean Bag Cover for Olive


So, bean bags are pretty dorky and ugly (just sayin) but we wanted something for Olive to be able to climb into and hang out without risk of falling etc...So what better than a nice cushy bean bag? The problem is that a. no one really sells bean bags these days, and b. the ones we could find don't exactly go with our decor. So, I decided to just grab this one and recover it. I bought some really fabulous recycled felt today for the project. I envisioned more of a creamy brownish gray but they didn't have that, so I settled with a mossy olive green. I got tan, chocolate and orange felt as well to make flowers and leaves. It's pretty cute in my head, so we'll see how it turns out! Stay tuned for the results...

Thursday, December 10, 2009

Magazine Bows


I saw this tutorial on making your own bows from magazine pages and i can't stop....I don't even know what I am making them for but they just turn out so cool that I keep making more. Someday I will find a purpose...maybe birthday presents throughout the year...